The Process
This was one of my first After Effects projects. I’ve always loved the neon signs from the 50s, 60s, and 80s. So I decided to flex those creative muscles and create a project for myself. Below is a breakdown of my creative process, from the initial sketches to the final product! Enjoy.
The Research
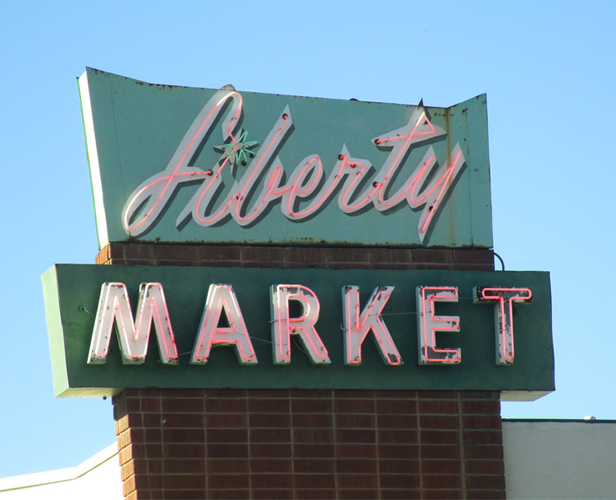
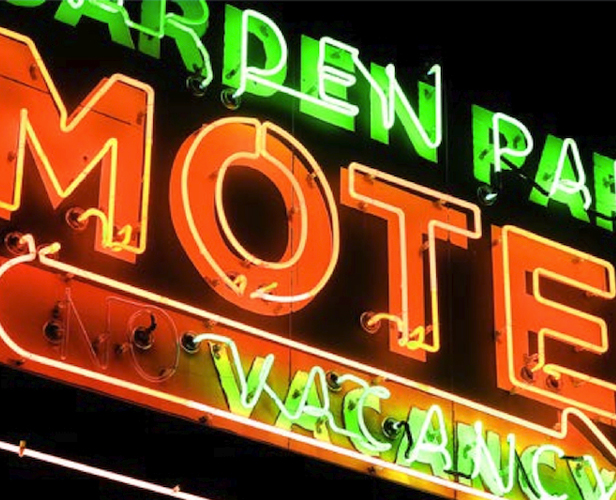
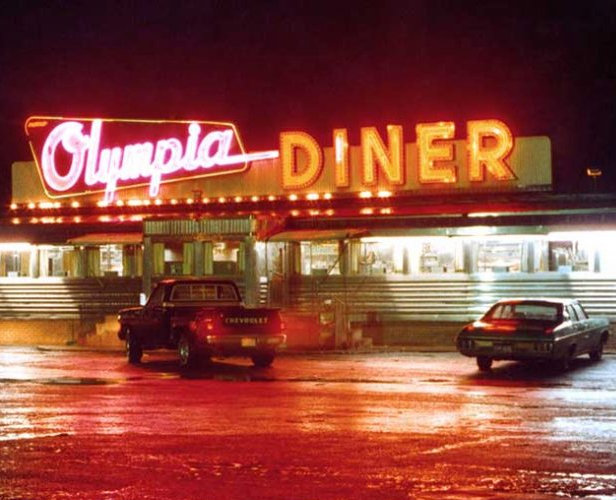
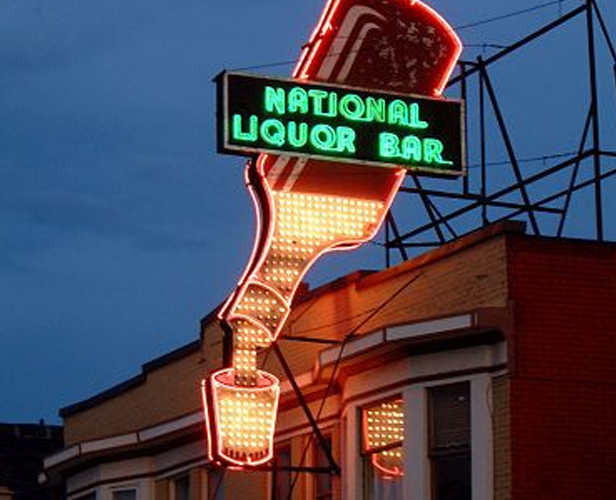
I had a lot to think about, from what colours I’d want to use with the design to what shapes would work best. Many of the signs I came across had different sections that would turn on and off creating an illusion of movement. I definitely knew I wanted some sort of animation with my sign; I wanted the movement to play a significant role in my design.
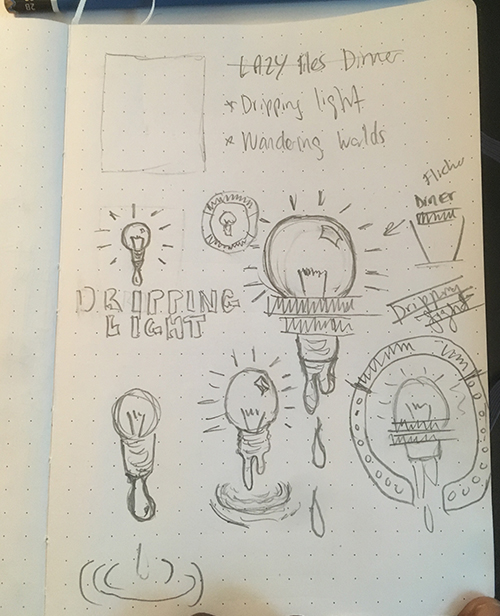
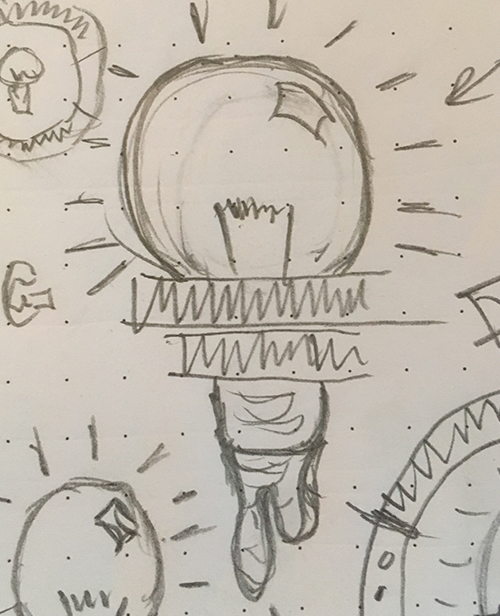
The initial sketch
One thing that helps me get into my creative flow state is music. During this project, I was listening to a lot of lo-fi music, which you can check out here! So what I decided to do was, take the name of the song I was enjoying at the time and combine it with another song title in my lo-fi playlist, which resulted in Drippin’ Lights. Since I wanted to have the illusion of movement, the drips would play a significant role in the overall design.
Vector
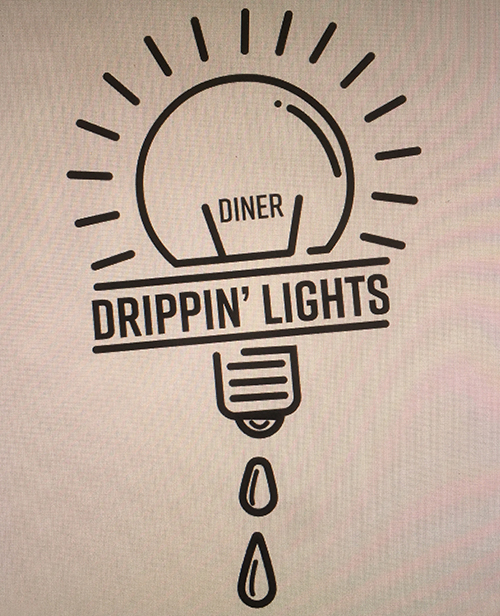
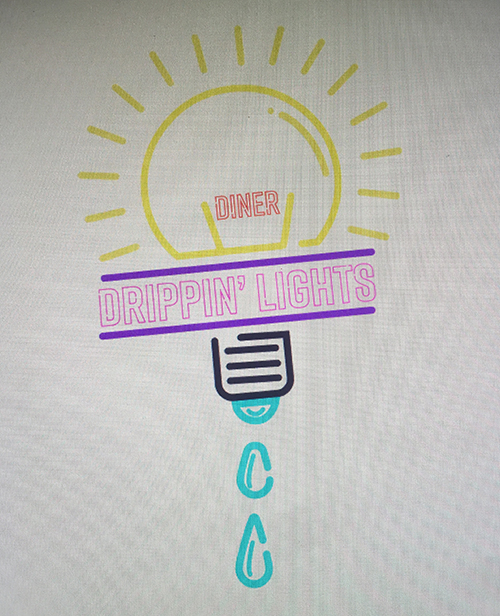
Up next was vectorizing the sketch and figuring out what colours I wanted to use. This also meant preparing the file for After Effects. Since animating the design would require many additional steps outside of Illustrator, I had to make sure the Ai file was set up in a way that would give me complete control over each individual layer in AE. Time-consuming but so worth it!
After Effects
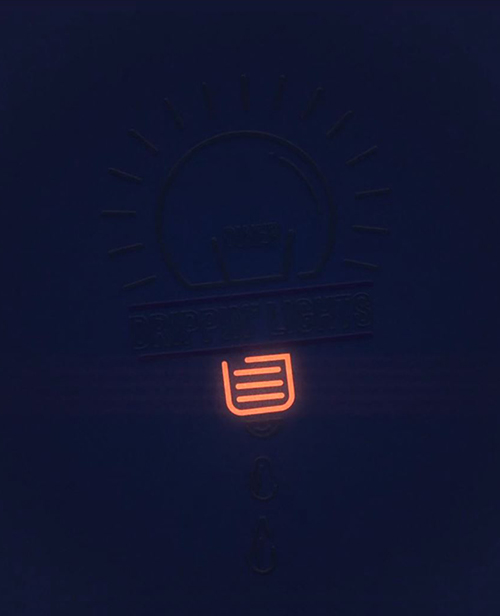
After throwing the vector into After Effects, I ran into a few problems. Things like the glow and the bloom effects were something I didn’t take into consideration in After Effects, so I changed the colours a tad bit then began to animate the design. I also had to make sure that I created a layer to mimic the lights while they were off.
Final
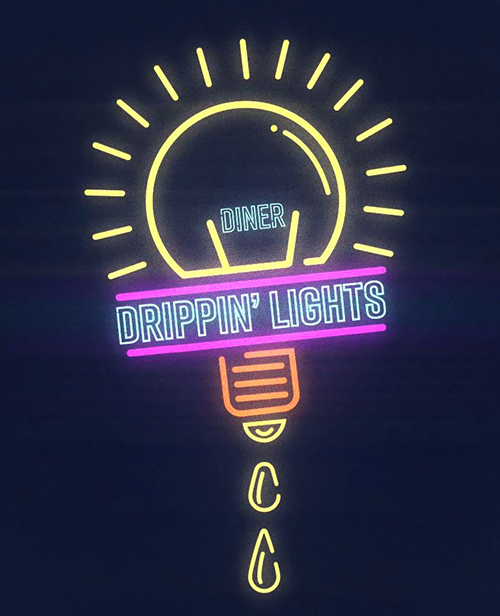
This is the final design with lighting effects, bloom, glow etc. One issue I ran into was underestimating the amount of light that emanated from each letter and shape. Thus figuring out the lighting was probably the most time-consuming part, but also the most fun. I think the glow came out perfect and as a result, I’m happy with the final design! View the video below to see it in action!
